How to Make an Origami Frog
Published

This origami frog starts with a rectangle and finishes with a folded spring underneath its body. Use a small rectangle of printer or notebook paper, or try an uncut dollar bill. The front legs come from a simple triangle fold. Keep the final spring creases neat, then press and release the back gently to test your frog on a table.
One fold at a time
Take your time. A neat crease makes the next fold easier.
Step 1: Find the middle
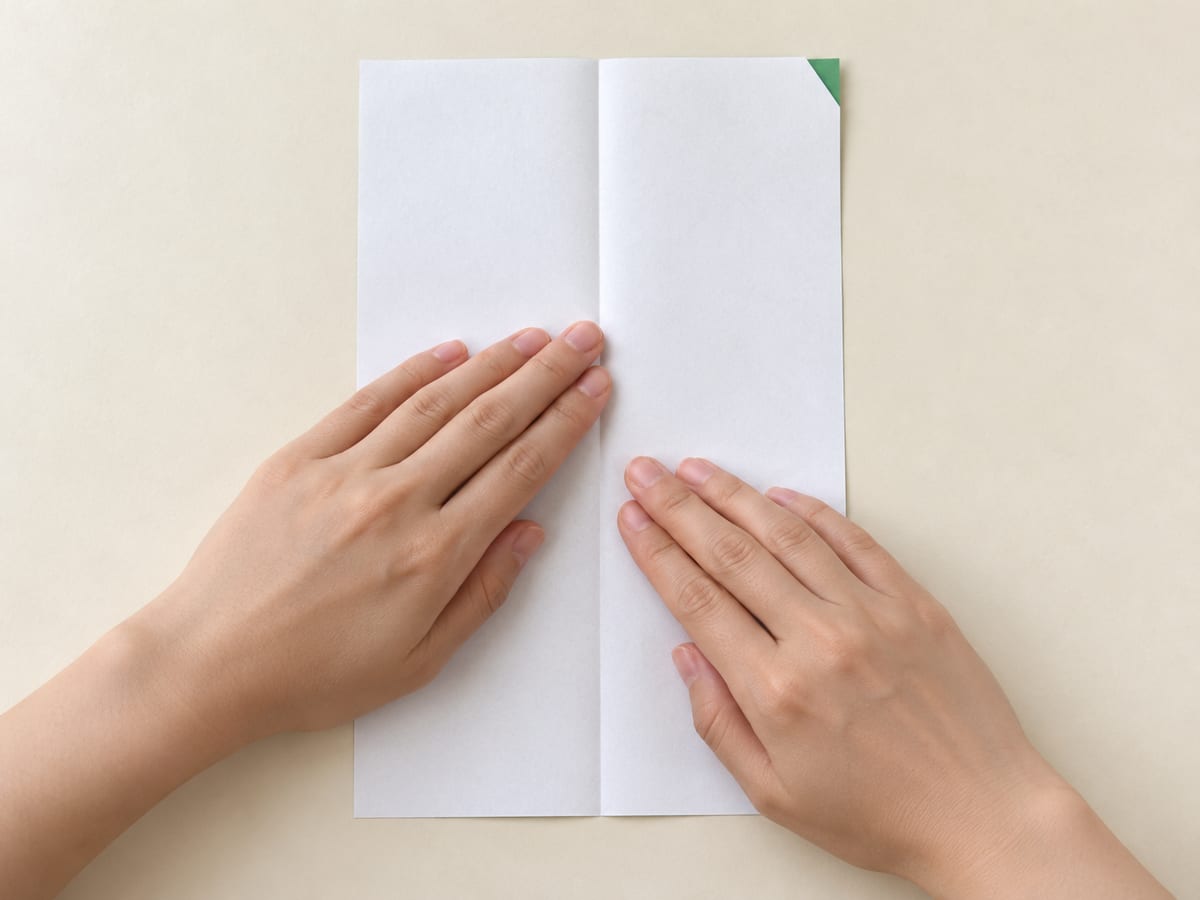
Place the rectangle upright; fold the long edges together, crease, and reopen.
Step 2: Mark the first diagonal
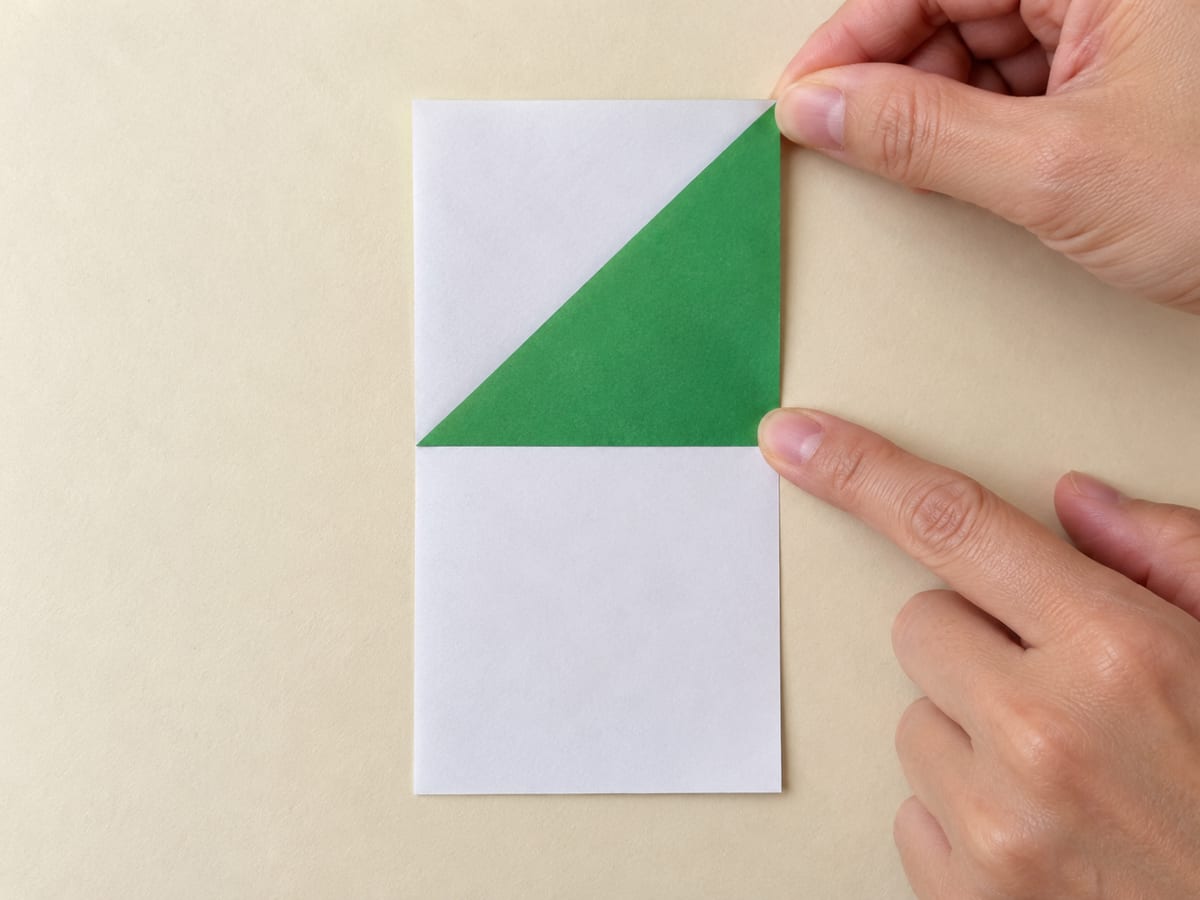
Bring the upper-left corner to the right edge, aligning the top edge with that side; crease and unfold.
Step 3: Cross the diagonal
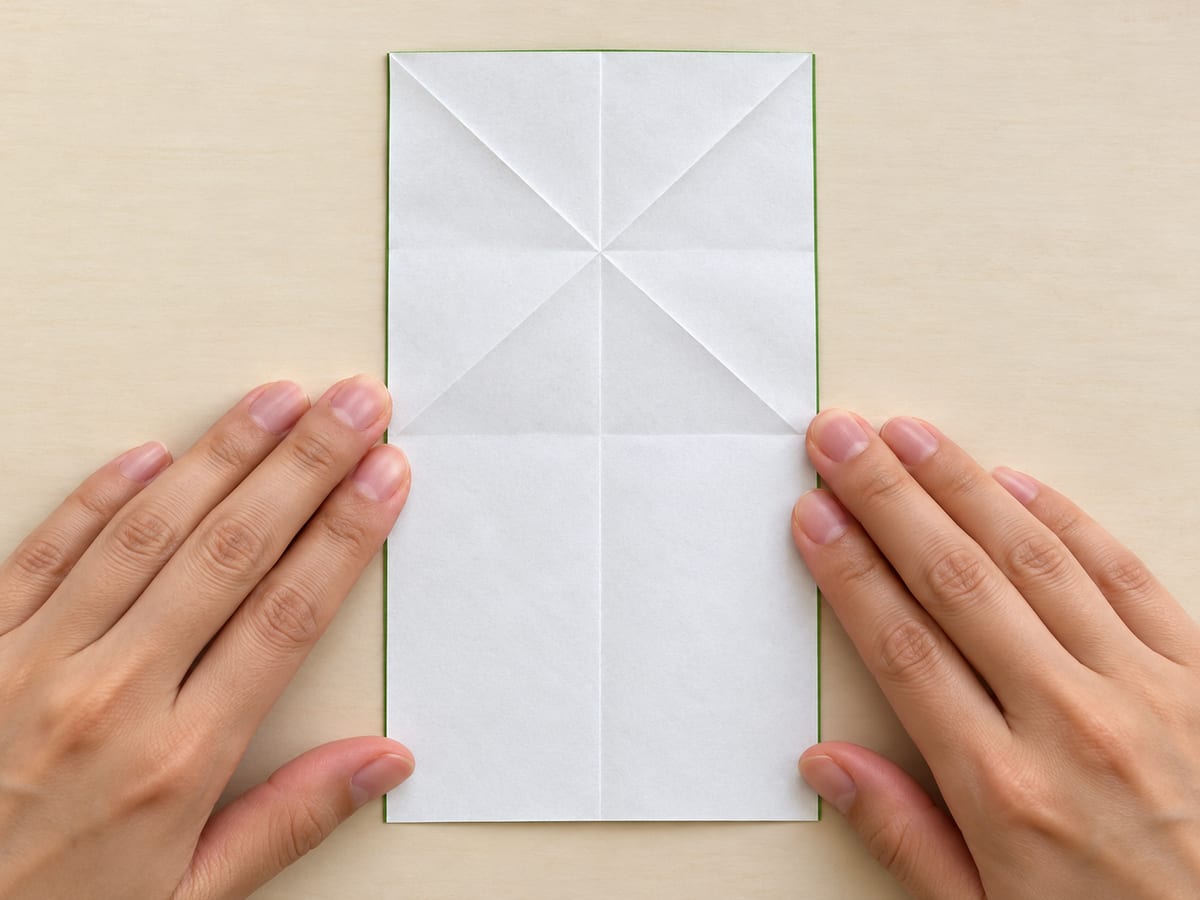
Repeat with the upper-right corner and left edge; unfold to reveal an X across the top square.
Step 4: Reverse the cross crease
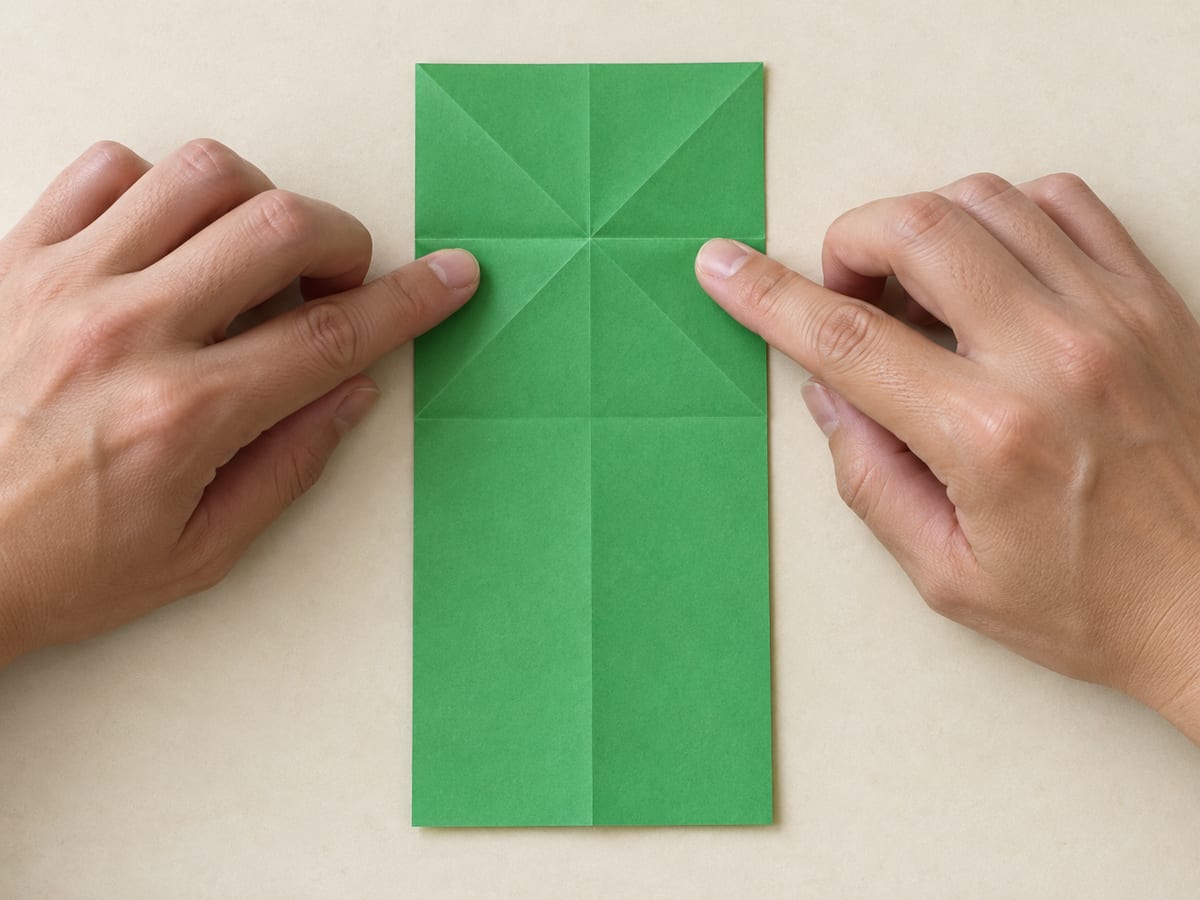
Turn the sheet over; fold across the center of the X, crease, and reopen.
Step 5: Collapse the triangle

Turn back over; push the sides of the X inward and flatten the top into a triangle.
Step 6: Lift the left leg
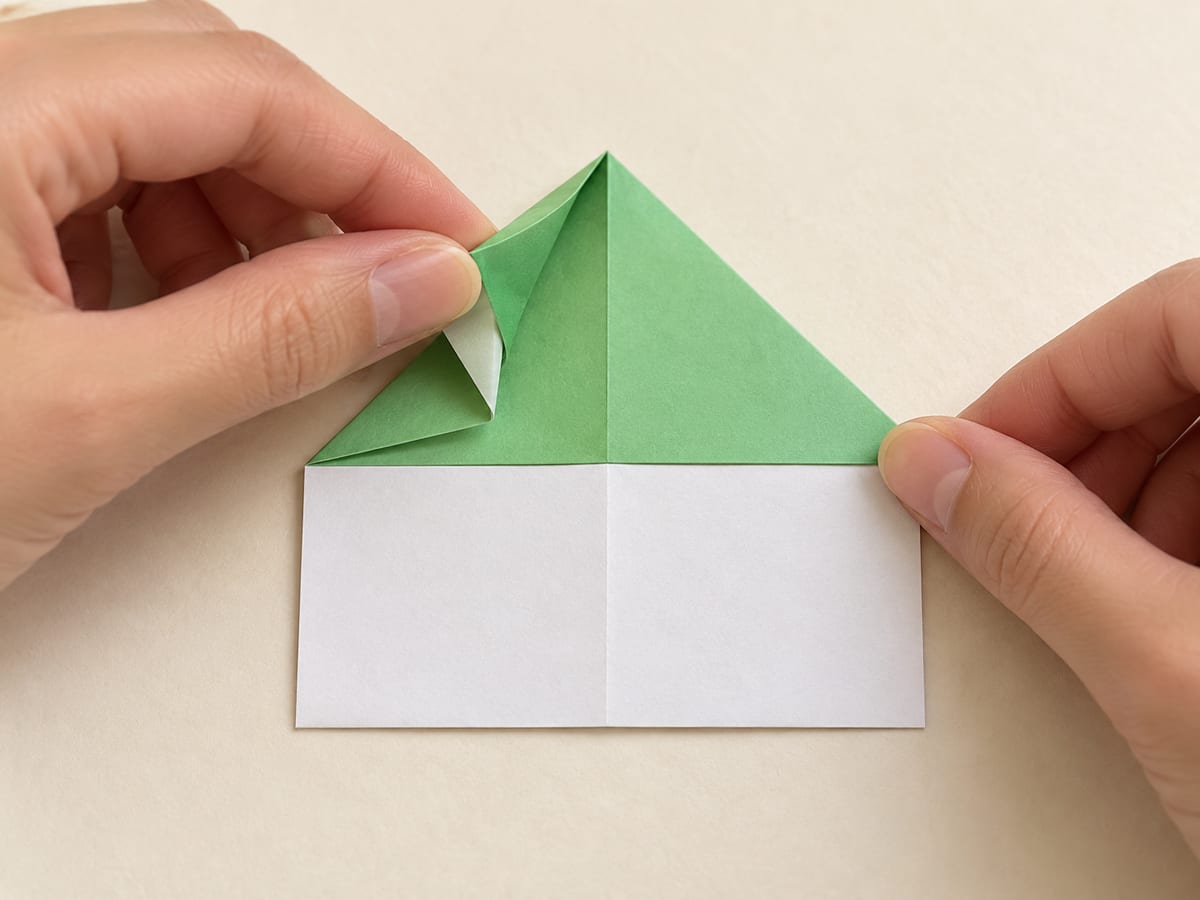
Fold the left corner of the upper triangle toward its top point.
Step 7: Lift the right leg
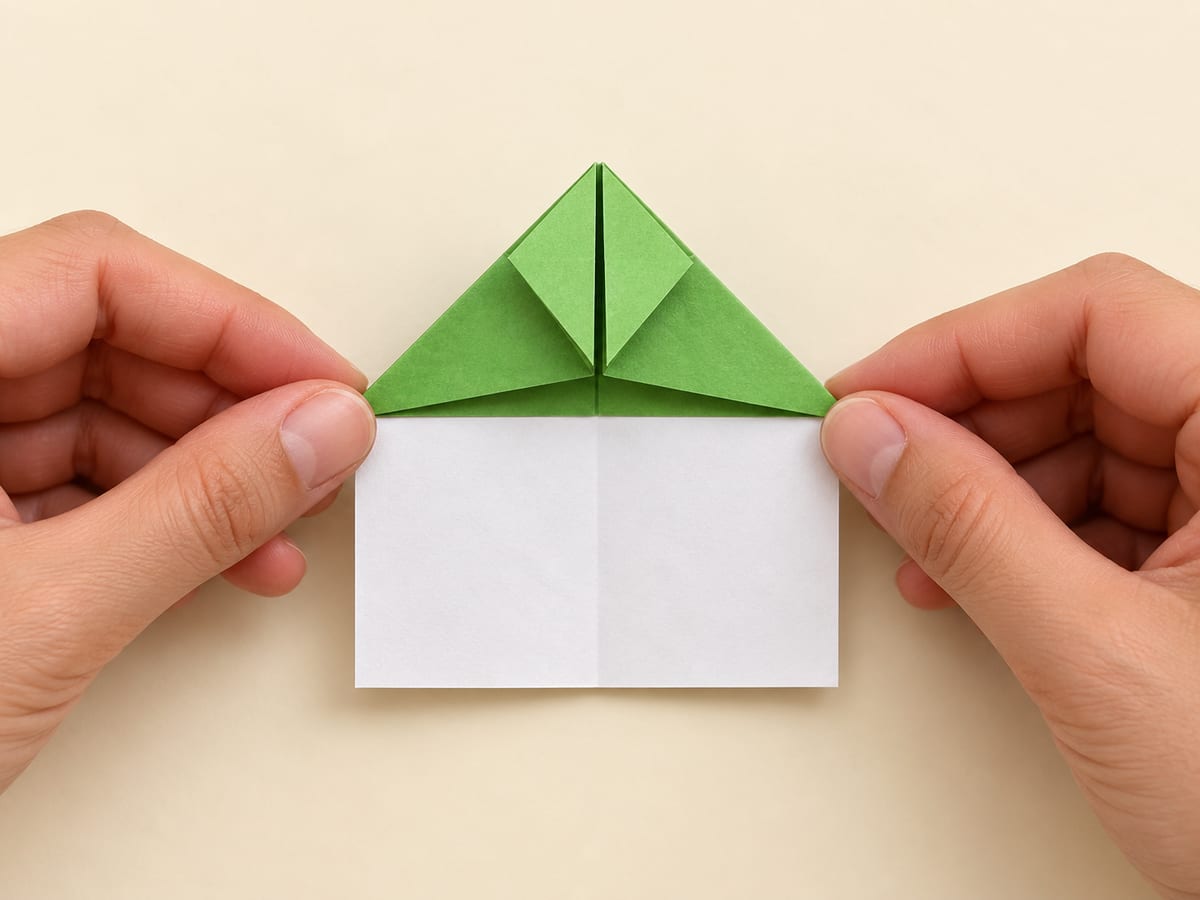
Fold the matching right corner upward to make the second front leg.
Step 8: Narrow the body

Fold both long side edges inward to the center, keeping the front legs free.
Step 9: Fold the spring upward
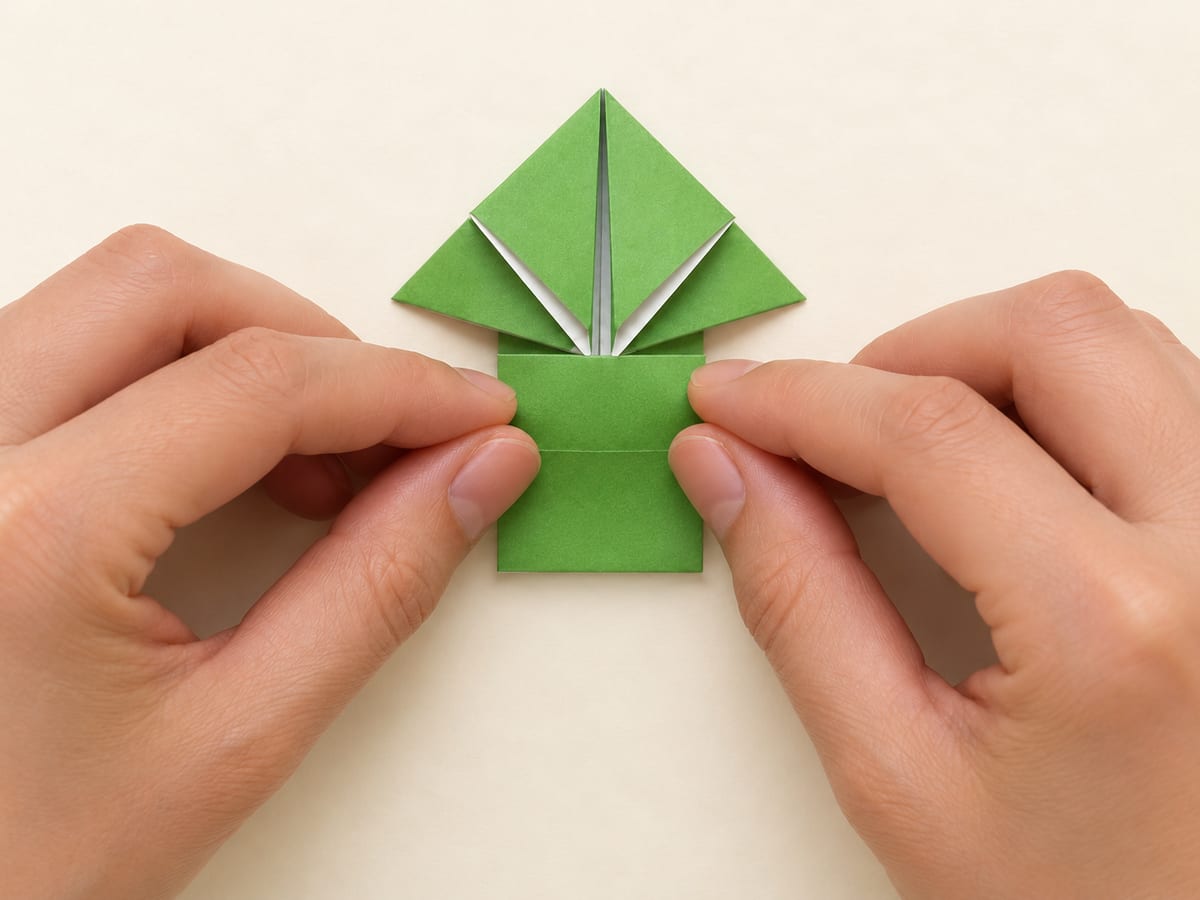
Bring the bottom edge upward to the center of the small diamond formed by the front legs.
Step 10: Fold the spring back
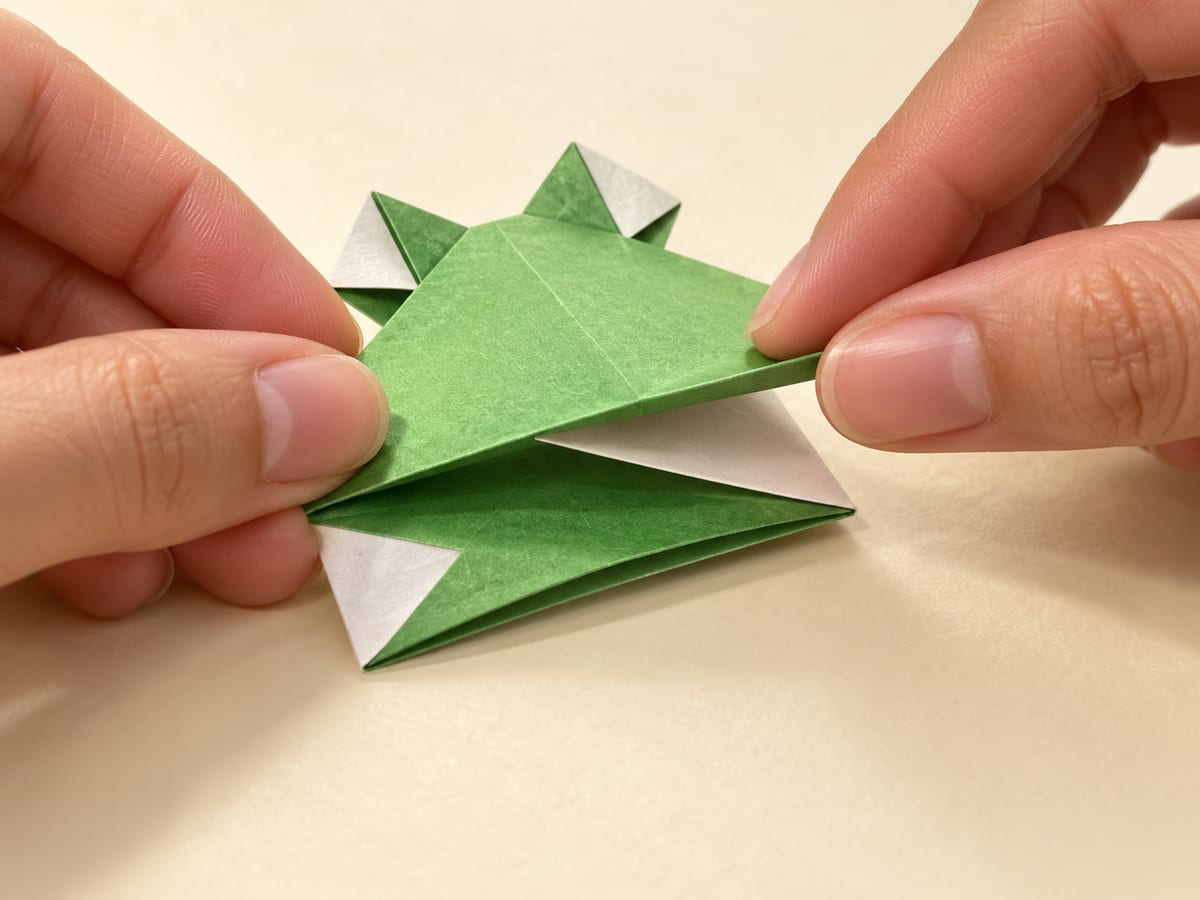
Fold that same section halfway back toward the bottom edge, forming a Z-shaped spring.
Step 11: Turn the frog over
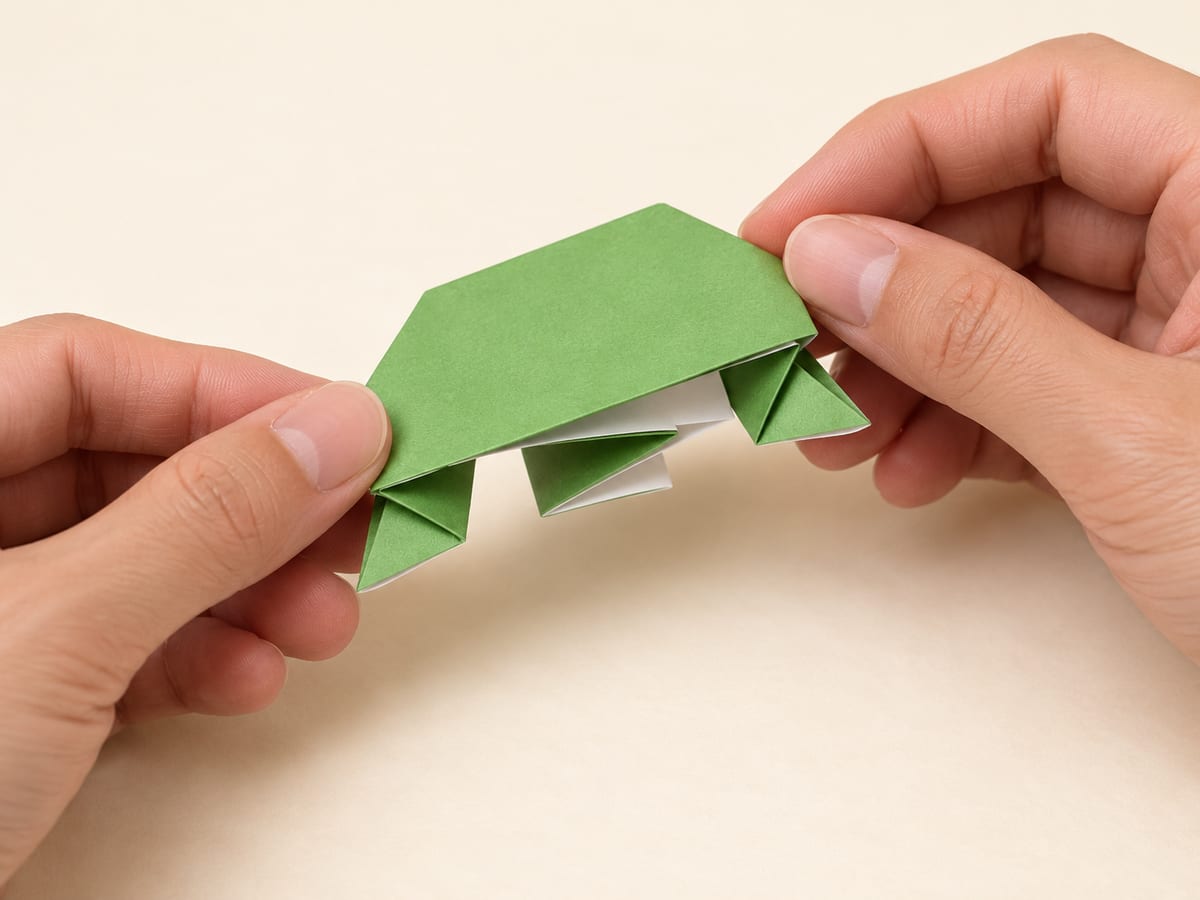
Turn the model over and place the folded spring underneath its body.
Step 12: Try a jump
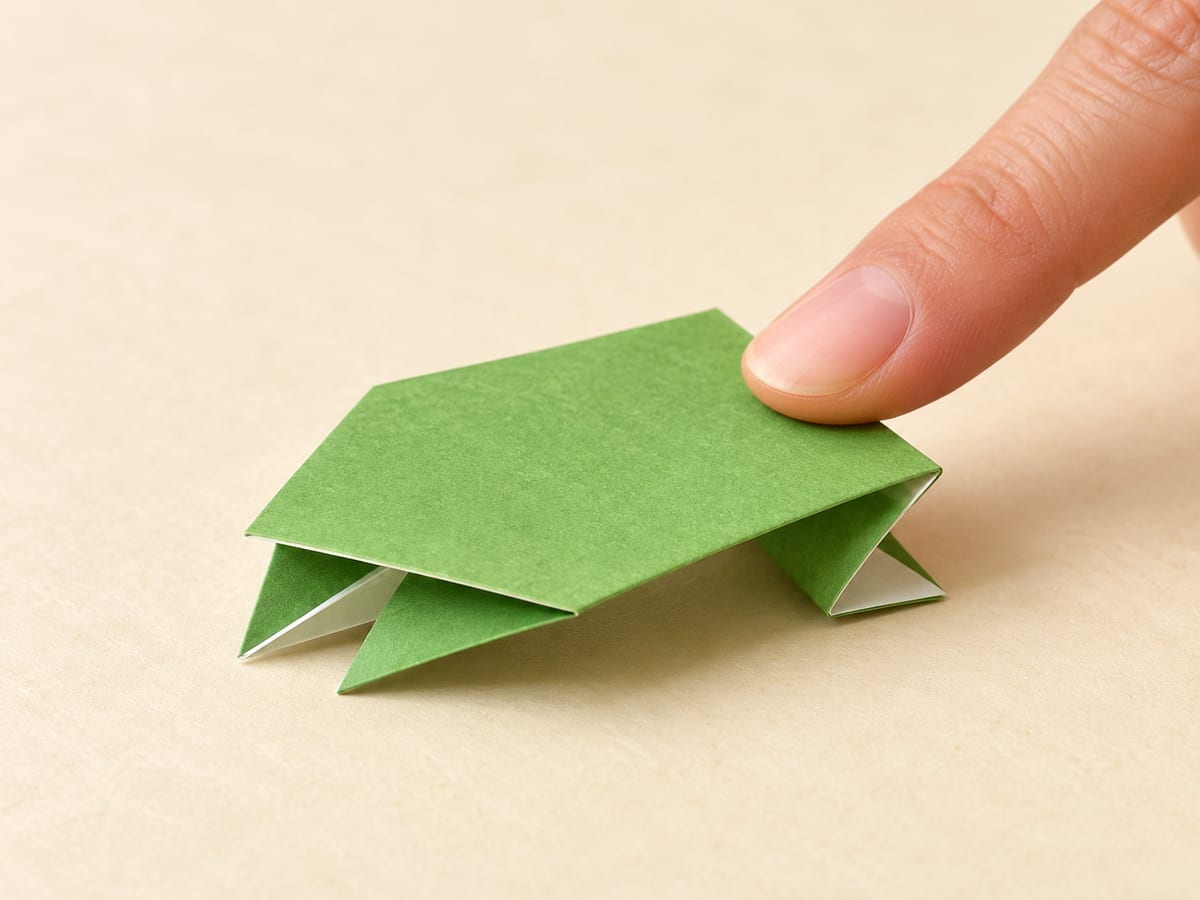
Press the back gently against a firm table, then slide your finger off to release the spring.


Try something else
More easy folds for your next sheet.


Coming soon
Not published yet— steps · — min · —