The Perfect Weekend Project: Easy Origami Box Tutorial
Create something both beautiful and useful. This simple Masu **origami box** is one of the most satisfying projects for any beginner.
Looking for a fun, practical, and satisfying origami project that you can complete in one sitting? The traditional Japanese “Masu” box is the perfect choice. Historically, the Masu was a square wooden box used in Japan as a measuring cup for rice. Today, its origami counterpart is beloved as a charming, handmade container.
This simple, elegant **origami box** is a cornerstone of beginner origami, offering a fantastic blend of beauty and utility. It’s a project that delivers instant gratification and leaves you with a useful object you can be proud of. It requires only a few simple, symmetrical folds and is a fantastic way to practice your precision. This comprehensive guide will walk you through every step to create your own perfect paper box.
What You’ll Need for Your Origami Box
Materials List
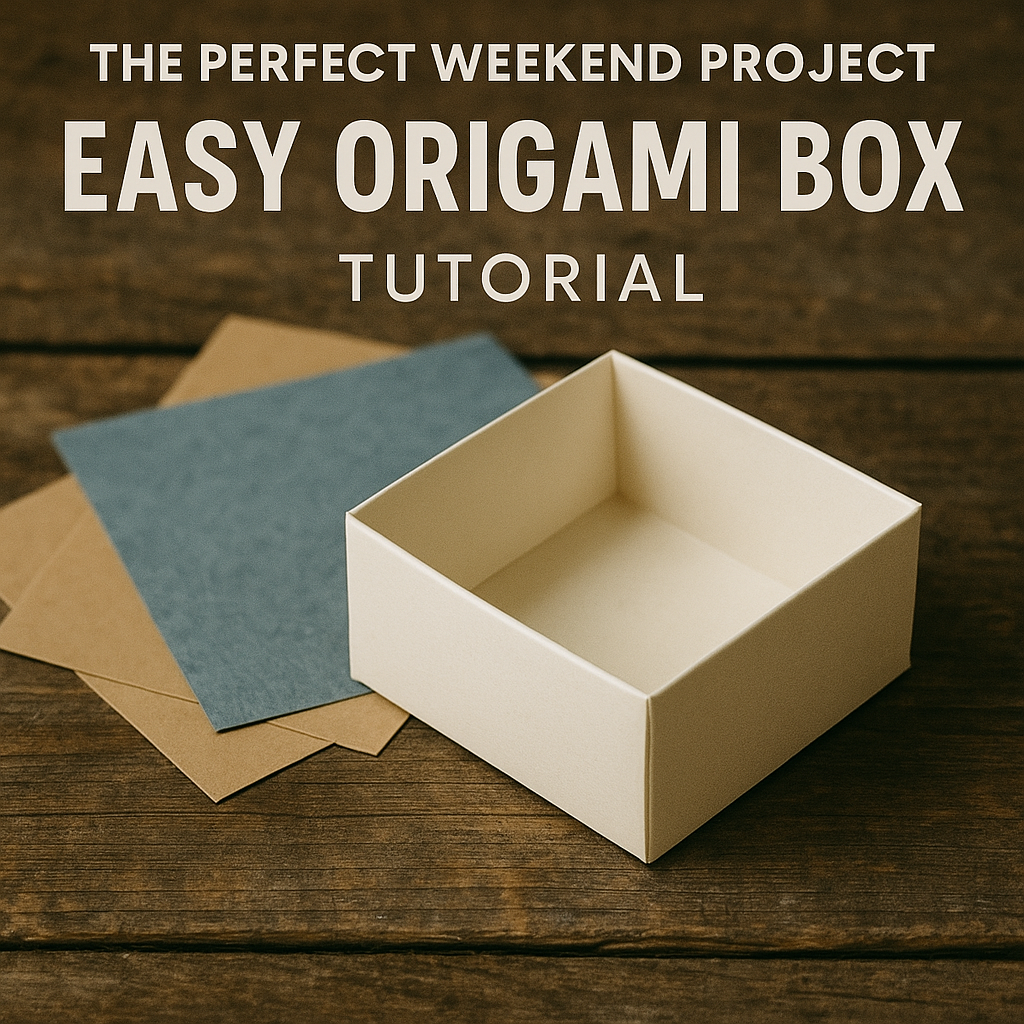
- A square piece of paper: Any size will work. A 6×6 inch (15×15 cm) square is a great start. Thicker paper like scrapbooking paper or cardstock will create a sturdier box.
- A flat surface: To ensure your creases are perfectly sharp and aligned.
- (Optional) Bone Folder: A bone folder or even a clean popsicle stick can help make your creases extra crisp, which is important for a box.
Folding Your Origami Box in 6 Key Stages
Stage 1: Create the Blintz Base
Start with your paper colored side down (white side facing you). Find the exact center by folding the paper in half diagonally both ways and unfolding. Now, fold all four corners so their tips meet exactly in the middle. Press down firmly on each fold to create a smaller, neat square shape. This is a “Blintz Base.”

Stage 2: Create Horizontal Guide Creases
Keep the paper in its smaller square form, with the folded flaps facing you. Take the bottom edge and fold it up precisely to meet the horizontal center line. Make a strong crease. Repeat this with the top edge, folding it down to meet the center line. **Unfold both of these folds.** You should now have two new horizontal creases that will form the sides of your **origami box**.

Stage 3: Create Vertical Folds
Now, rotate the paper 90 degrees. Repeat the previous step on the new sides: fold the bottom edge (which was the side edge) up to the center line and the top edge down to the center line. This time, **keep these two flaps folded.** Your paper should now be a rectangle with two pointed ends.

Stage 4: Open Side Flaps & Form Walls
Unfold the left and right flaps (the pointed ends) completely, opening them outwards. Now, lift the top and bottom flaps (the ones that are still folded) to create two vertical walls. As you lift them, the sides will naturally want to fold inwards along the diagonal creases you made earlier. Guide these creases to form the corners of the box.

Stage 5: Lock the Final Walls
This is the most satisfying step! Take one of the open sides (the unfolded flaps) and lift it upwards. As you do this, the pre-existing diagonal creases on the corners will fold inwards. Fold the pointed top flap over this new wall and tuck it down snugly inside the box. It should fit perfectly against the bottom. Repeat for the last side to lock the entire **origami box** together.

Tips for a Perfect Origami Box
How to Make a Lid
To make a perfectly fitting lid for your **origami box**, you have two easy options. 1) Make a second box using a piece of paper that is just slightly larger (e.g., if your base is 6×6 inches, use a 6.25×6.25 inch square for the lid). 2) Use an identical sheet of paper, but in Stages 2 & 3, don’t fold the edges *all the way* to the center line. Leave a tiny 1-2mm gap. This will make the final box slightly wider and shallower, perfect for a lid.
Paper Choice and Precision
Stiffer paper, like cardstock or thick scrapbooking paper, creates a very sturdy box. Double-sided paper looks fantastic, as the pattern will show on the inside. For a box, sharp and accurate creases are not optional. Ensure all points meet *exactly* in the center and all edges align *perfectly* with the guidelines. A bone folder can be a huge help here.
Creative Origami Box Ideas
This simple box is a gateway to so many creative projects. Don’t just make one!
- Handmade Gift Box: The most obvious use! It’s perfect for small gifts like jewelry, candy, or a thoughtful note.
- Desk Organizer: Make a few small boxes from 4×4 inch paper to hold paperclips and thumbtacks. You could even fold a matching Origami Phone Stand to complete your set!
- Party Favors: Fold small boxes from colorful paper to hold party favors for weddings, birthdays, or baby showers.
That’s it! You now have a perfect, handmade **origami box**. This versatile model is a fundamental part of paper folding and a wonderful project for any skill level. Now you can decorate it, fill it with treasures, or give it as a thoughtful gift. Happy folding!