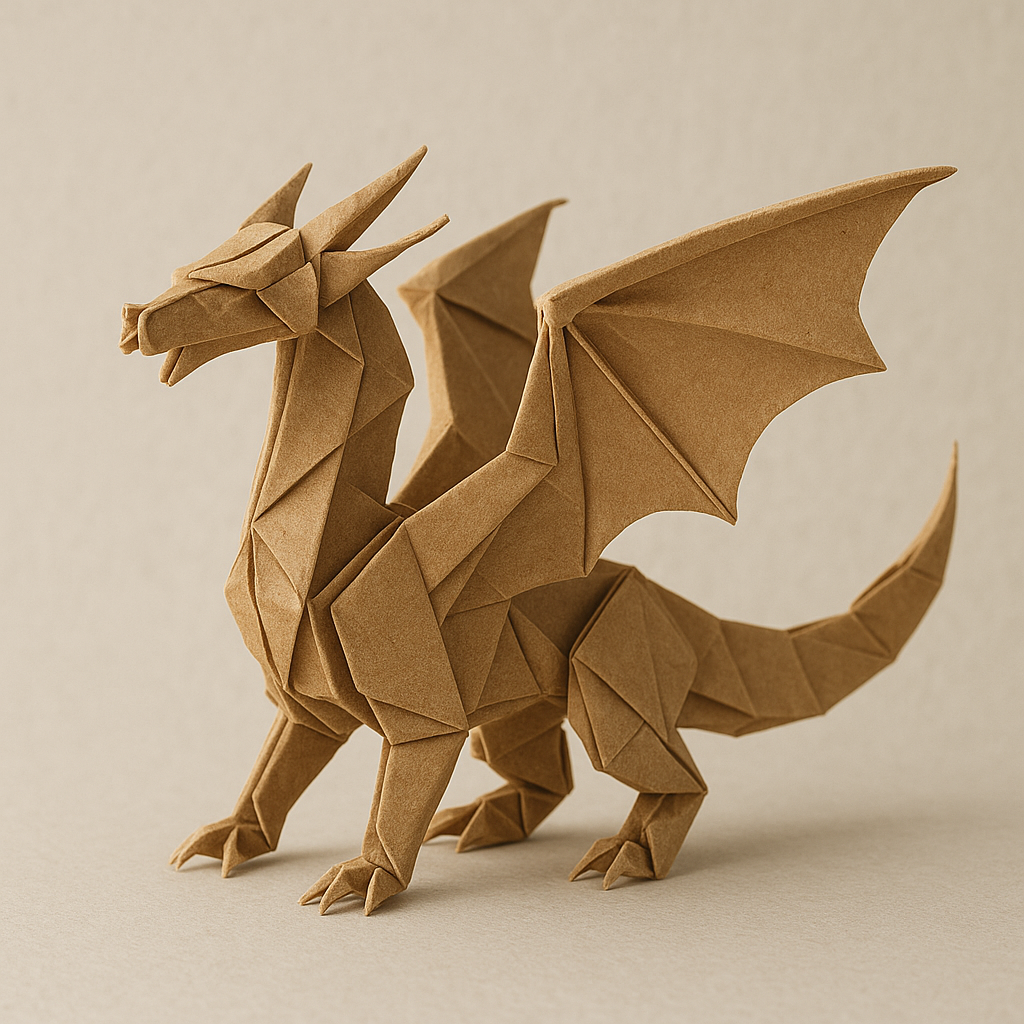
Origami Ancient Dragon
Take your skills to a mythical level. This guide introduces techniques for folding a majestic ancient dragon.
Folding an origami dragon is often seen as a pinnacle of the art. While truly complex dragons can take hours, this model introduces key advanced techniques like reverse folds and thinning folds to create an impressive, stylized ancient dragon. It requires precision and patience, building upon the skills you’ve already learned.
What You’ll Need
- A square piece of paper: Larger paper (e.g., 10×10 inches / 25×25 cm) is recommended. Thin but strong paper (like Kami or Kraft) works well.
- A flat surface & focus: Precision is crucial for advanced models.
Folding Your Dragon in 5 Key Stages
Stage 1: Create the Bird Base
Begin with your paper colored side down. Fold in half diagonally both ways and unfold to create an ‘X’. Flip the paper over. Fold in half horizontally and vertically, unfolding each time to create a ‘+’. Now, bring all four corners down to the bottom center point, collapsing the paper along the existing creases into the classic “Bird Base.” This base provides the necessary points for the head, tail, and wings.

Stage 2: Petal Fold and Initial Shaping
Position the Bird Base with the open end pointing down. Take the bottom-left and bottom-right flaps of the top layer and fold them into the center crease. Now, fold the top triangle down over these flaps and crease firmly. Unfold these three folds. Lift the bottom point of the top layer upwards, using the horizontal crease as a hinge, and flatten the sides inwards along their creases. This is a “Petal Fold.” Flip the model over and repeat the entire Petal Fold process on the other side.

Stage 3: Thinning the Head/Tail and Wings
You now have two long points (head/tail) and two shorter points (wings/legs). Let’s thin them. Take one of the long points. Fold its left and right edges into the center line, making it much narrower. Unfold. Use these creases to perform an “open sink” fold, tucking the excess paper inside to make the point thinner. Repeat this thinning process on the other long point and on the two shorter wing/leg flaps as well.

Stage 4: Forming Head, Tail, and Wings via Reverse Folds
Now use your knowledge of Inside Reverse Folds. Take one thinned long point and perform two inside reverse folds near the tip to create the dragon’s head with horns or jaws. Take the other long point and reverse fold it upwards to form the tail. For the wings/legs, perform outside reverse folds (folding backwards) to position them how you like, perhaps adding another reverse fold to create a “knee” or joint.

Stage 5: Final Shaping and Details
Your dragon’s basic form is complete! Now, add the final touches. Crimp the wings to give them texture. Add small reverse folds to the tail for joints. Refine the shape of the head and horns. Gently curve the body. The more small details and shaping folds you add, the more lifelike your ancient dragon will become.

Folding an origami dragon is a rewarding challenge. This model introduces essential techniques for creating complex figures. Don’t be discouraged if your first attempt isn’t perfect; practice these thinning and reverse folds, and soon you’ll be creating legendary creatures!
Explore More Techniques & Projects
Mastering the Inside Reverse Fold
Learn this crucial technique for adding detail to complex models.
Intro to Tessellations
Discover the meditative art of folding repeating patterns.
The Secrets of Wet-Folding
Learn to sculpt paper into lifelike, rigid 3D models.
The Sonobe Unit
Learn the building block for amazing 3D geometric models.