
Origami—the Japanese art of paper folding—lets you turn a simple square sheet into charming creations. In this
tutorial, you’ll learn how to fold a delightful origami fish in 7 easy steps. No scissors or glue required—just follow
along and have fun!
What You’ll Need
• Square paper (15 × 15 cm recommended)
• Clean, flat workspace
• Pen or sticker (to add the eye)
Step-by-Step Instructions
Step 1: Place Your Paper
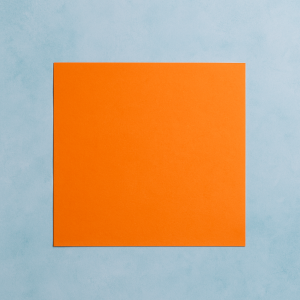
Lay the paper on your workspace with the colored side facing down.
Step 2: First Diagonal Fold
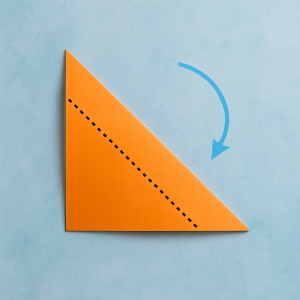
Fold one corner up to meet the opposite corner, forming a triangle. Crease well, then unfold.
Step 3: Second Diagonal Fold

Repeat on the other diagonal. You should now see an ‘X’ crease pattern. Unfold again.
Step 4: Fold Side Edges to Center

Bring the left and right edges in to meet the vertical crease
Step 5: Shape the Tail

Fold the bottom tip up about one-third of the way.
Step 6: Define the Head

Fold the top tip down to create the fish’s head.
Step 7: Add the Eye

Draw or stick on a small eye near the head.
Final Thoughts
Congratulations—you’ve made your very own origami fish! Experiment with different paper colors and sizes. If you
enjoyed this tutorial, share it with friends and subscribe for more origami projects!