A Visual Guide to Your First Origami Animal: The Fox
Folding animals is one of the most rewarding parts of origami. This simple **origami fox** face is the perfect place to start your paper menagerie.
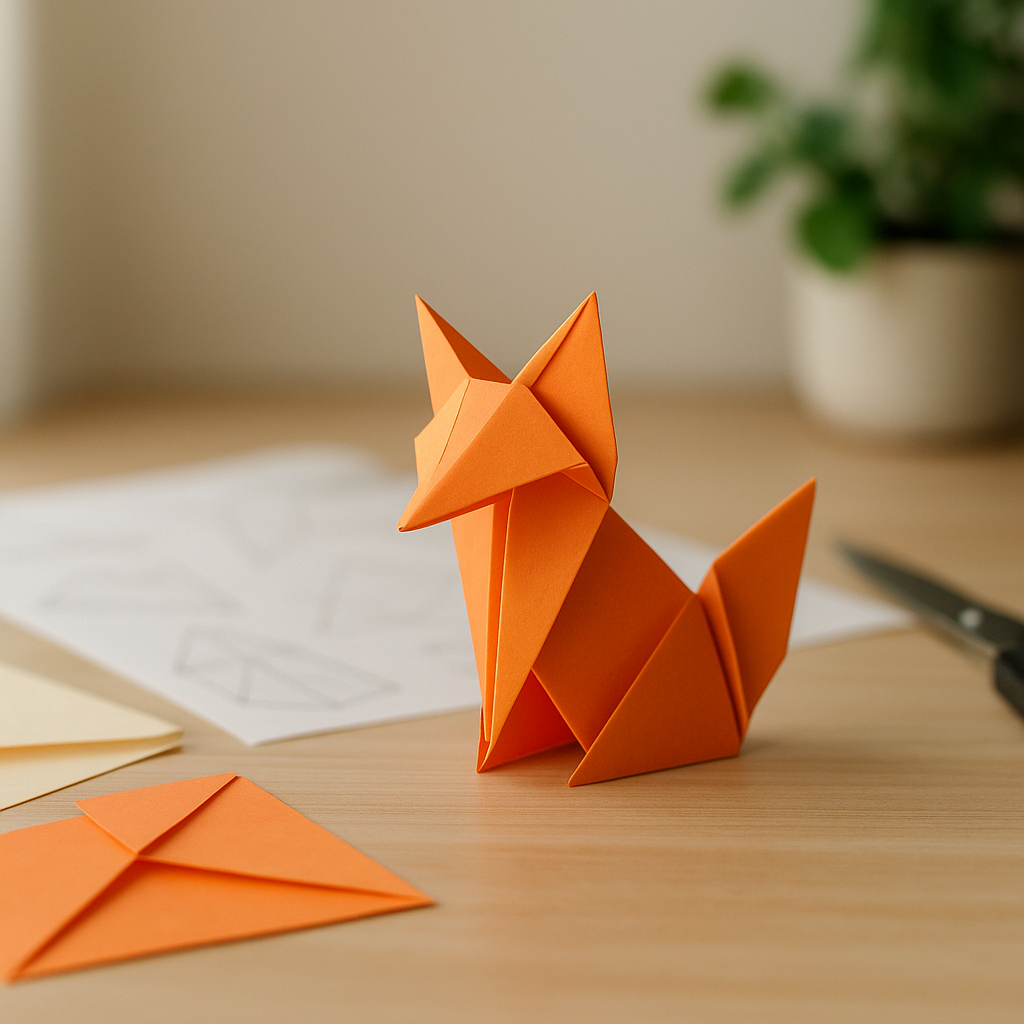
If you’re excited to bring paper to life, there’s no better way than folding your first **origami animal**. The **origami fox** is a classic beginner model because it introduces you to some essential folding techniques while being incredibly simple and quick to complete. In just a few minutes, you’ll transform a flat square of paper into a charming fox face.
This model is particularly great for kids and anyone new to the hobby. Unlike more complex models that require “inside reverse folds” or “sink folds,” this fox face relies on simple, direct valley and mountain folds. It’s a fantastic confidence-booster and a perfect first step before you try a more complex **origami animal**. This guide will walk you through the 6 easy stages to create your own.
What You’ll Need for Your Origami Fox
Materials List
- A square piece of paper: Orange or red paper looks great! 6×6 inches (15×15 cm) is ideal. Double-sided paper (e.g., orange on one side, white on the other) is perfect for this model.
- A flat surface: For making sharp, clean folds.
- A black marker: For drawing the face at the end.
Folding Your Origami Fox in 6 Key Stages
Stage 1: Make a Triangle Fold
Begin with your square piece of paper placed on a flat surface with the colored side facing down (white side up). Take one of the bottom corners and carefully bring it up to meet the opposite top corner. Align the edges precisely, then press down firmly along the fold to create a sharp, clean crease. You should now have a perfect triangle.

Stage 2: Fold Up the Corners
Position your triangle so that the longest side is at the bottom and the main point is facing downwards. Now, take the bottom-left corner and fold it upwards to meet the top point of the triangle. Press the crease firmly. Repeat this exact same fold with the bottom-right corner, bringing it up to meet the top point as well. Your paper should now resemble a diamond or a square standing on its corner.

Stage 3: Flip It Over
Gently pick up your paper model and flip it over to the reverse side. The surface you see now should be completely smooth, without any of the folds you just made visible. This step is important as it prepares the paper for creating the fox’s facial features on the correct side.

Stage 4: Fold the Top Down
Locate the top point of your square. You’ll notice it has two layers of paper. Carefully separate the top layer and fold it straight down. Bring the point down to about the horizontal centerline of the square. This single fold cleverly forms both the top of the fox’s head and reveals the two points that will serve as its ears.

Stage 5: Fold the Chin
Direct your attention to the bottom point of the model. To create the fox’s chin and give its face a defined shape, take this bottom tip and make a small fold upwards. You don’t need to fold it up very far—just enough to blunt the sharp point. This small but important fold really starts to bring the fox’s face to life.

Stage 6: Draw the Face!
Congratulations, the folding is complete! All that’s left is to add the final touches. Take a pen or marker and draw two eyes on the main face of the fox. Then, add a small nose on the chin flap you folded up in the last step. Feel free to get creative and give your **origami fox** a unique expression!

Tips for the Perfect Origami Fox
Paper Choice
This model looks fantastic with double-sided paper (orange on one side, white on the other). This way, the ears and the top of the head (Stage 4) will naturally be white, adding a lovely contrast to your **origami fox**.
The Face is Everything
This model is all about the expression. Before you draw, you can practice on a scrap of paper. Try simple dots for eyes, or draw sleeping “U” shapes for a sleepy fox. The personality is all in your hands!
Creative Project Ideas
Now that you’ve mastered your first **origami animal**, what can you do with it?
- Woodland Diorama: Create a forest scene in a shoebox! You can pair your **origami fox** with a Simple Origami Bird perched on a twig.
- Handmade Greeting Cards: Glue your fox face to the front of a blank card for a cute “Thinking of You” or birthday card.
- Story Time Puppets: Glue the finished fox to a popsicle stick to create a simple puppet for story time.
For more amazing **origami animal** inspiration, the OrigamiUSA animal gallery showcases incredible creations from simple to hyper-complex.
Congratulations! You’ve just folded your very first **origami animal**. This quick and enjoyable project is perfect for beginners and a great stepping stone to more complex models. Experiment with different paper colors and sizes to create a whole den of unique foxes. Happy folding!