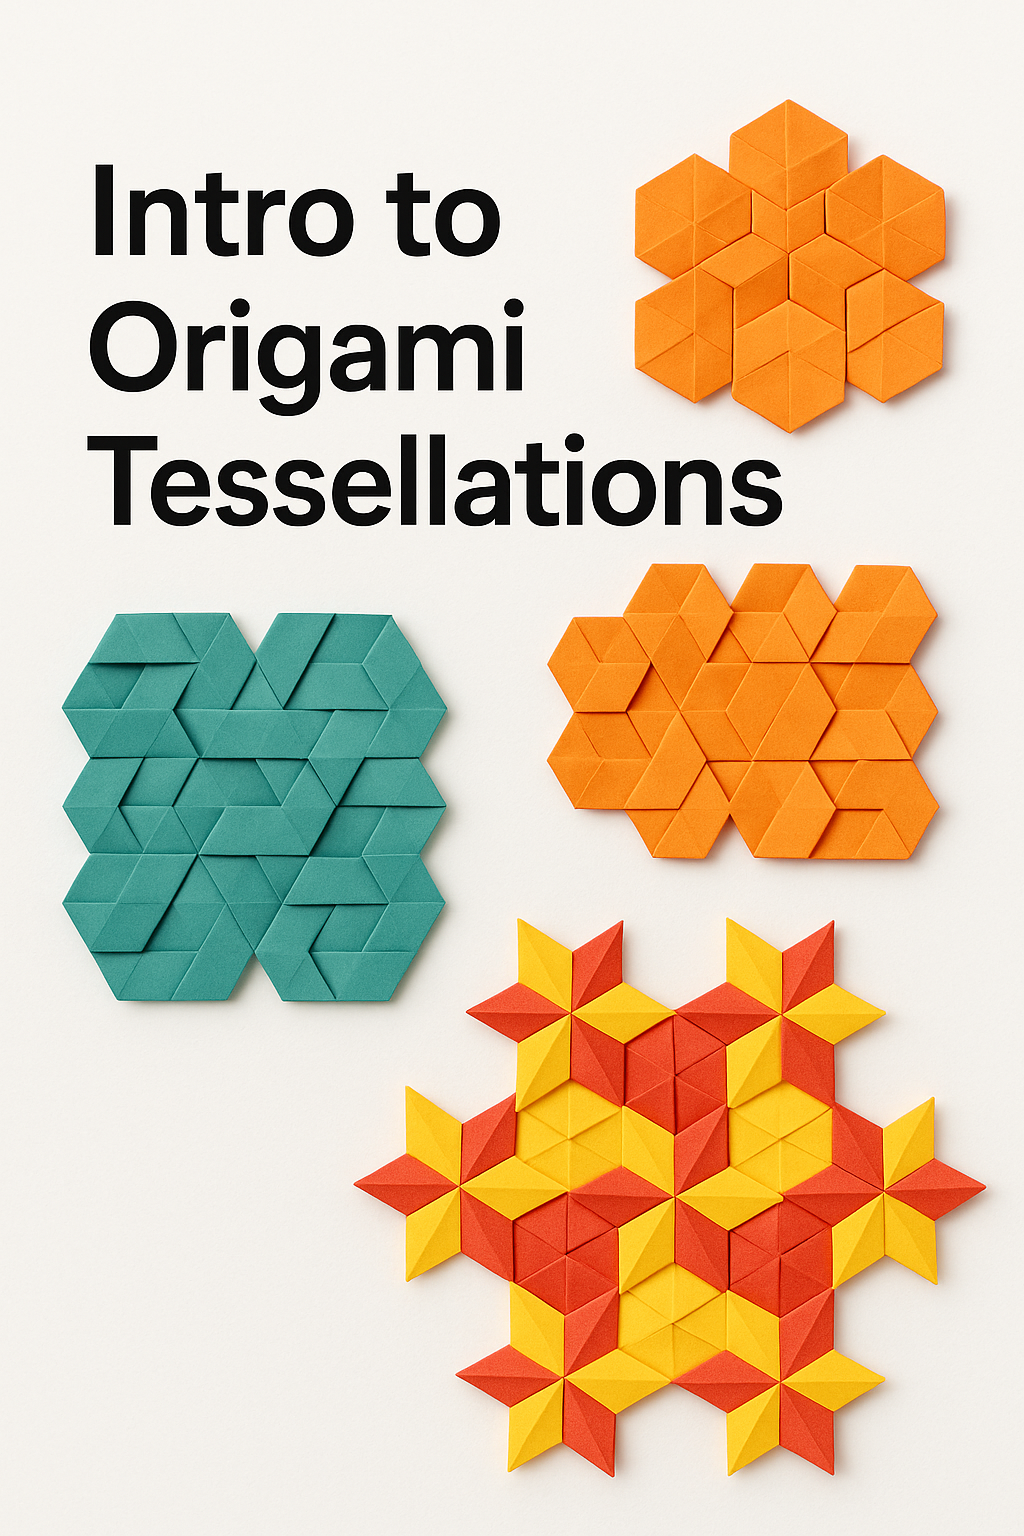
Intro to Origami Tessellations: Folding Geometric Beauty
Discover the magic of folding repeating geometric patterns. We’ll start with a fundamental “triangle twist.”
An **Origami Tessellation** is a mesmerizing form of paper art, consisting of repeating geometric patterns folded from a single sheet of paper. Unlike traditional models, the beauty isn’t in a single subject, but in the intricate, interlocking geometry of the entire sheet. It’s a deeply meditative process that starts with one crucial step: folding a precise grid.
This art form bridges the gap between paper folding and mathematics. Many beginners are intimidated by the complex look of a finished **origami tessellation**, but the secret is that they are all built from simple, repeating “molecules” or “twists.” In this guide, we’ll walk you through the process of creating your very first tessellation based on a simple triangle twist, a concept explored by masters like Eric Gjerde.
What You’ll Need for Your Origami Tessellation
Materials List
- A large square of paper: Thin but strong paper is ideal. Standard origami paper (Kami) can be too thick. Try parchment paper, tracing paper, or specialized paper like “Kraft” or “Elephant Hide.”
- A flat, hard surface: Precision is everything for the grid.
- Patience! The grid is the most time-consuming part, but a good grid is essential for a good result.
Folding Your First Origami Tessellation in 5 Key Stages
Stage 1: Fold the Triangle Grid
This is the most important step and requires the most patience. Unlike simpler models, tessellations often rely on a “triangle grid,” not a square one. Start by folding your paper in half, then quarters, then eighths (and ideally sixteenths) in one direction. Then, rotate 60 degrees (NOT 90!) and do the same, and then another 60 degrees and repeat. This creates a complex grid of equilateral triangles, which is the foundation for most tessellations.

Stage 2: Identify and Pre-Crease the Twist
Look at your grid. Find a “star” of six triangles meeting at one point. This will be your first twist. You need to pre-crease the pattern. For a simple triangle twist, pinch the six “valley” folds (folds that sink in) that form the small hexagon around that center point. Then, pinch the six “mountain” folds (folds that pop up) that radiate outwards from the hexagon’s corners. Making these creases sharp *before* collapsing is essential.

Stage 3: Collapse the First Twist
This is the magic moment. Hold the paper at the pre-creased lines. Gently push the six points of the hexagon together, while simultaneously twisting in one direction (e.g., clockwise). The paper will want to collapse along your pre-creased lines, sinking in the middle and forming a 3D, three-pronged pinwheel on the front. Flatten this shape to lock it in place.

Stage 4: Repeat the Twist
Now that you have one twist, look at the grid next to it. You will see another identical intersection of six triangles. Repeat the exact same process: pre-crease your hexagon and radiating lines, then gently collapse and twist. The second twist should form right next to the first one, sharing one of its “mountain” fold lines.

Stage 5: Complete Your First Tessellation
Continue this process, moving molecule by molecule across the entire grid. As you add more twists, the paper will become more dimensional and begin to hold its shape. Once you have filled the paper with twists, gently flatten the model to set the creases. You have just folded your first beautiful, repeating **origami tessellation**! Hold it up to a light to see the stunning geometric effect.

Tips for Perfect Origami Tessellations
Grid Precision is Everything
An inaccurate grid is the number one reason an **origami tessellation** fails. Take your time, use a bone folder if you have one, and ensure your grid lines are parallel and perfectly spaced.
Paper Choice and Backlighting
Thin paper is your friend. Thick paper becomes impossible to fold where many creases intersect. Tracing paper or parchment paper are excellent choices. When collapsing twists, it can be hard to see your creases. Holding the paper up to a window or a lamp (backlighting) will make your grid lines pop, making it much easier to fold accurately.
Creative Project Ideas
Tessellations are beautiful pieces of art on their own, but they can also be used in other projects:
- DIY Lampshades: When folded from translucent paper, a finished tessellation makes a stunning and modern lampshade.
- Wall Art: Frame your finished **origami tessellation** in a shadow box for a unique piece of geometric wall art.
- Box Decor: Use a small, finished tessellation to decorate the lid of a handmade Origami Box, giving it an incredibly intricate look.
Congratulations on folding your first **origami tessellation**! This process is all about patience and precision, but the results are hypnotic. You’ve just unlocked a whole new, advanced field of origami. Try this pattern again on a larger grid to see the pattern really come to life!