How to Fold a Simple Paper Bird: An Easy Guide
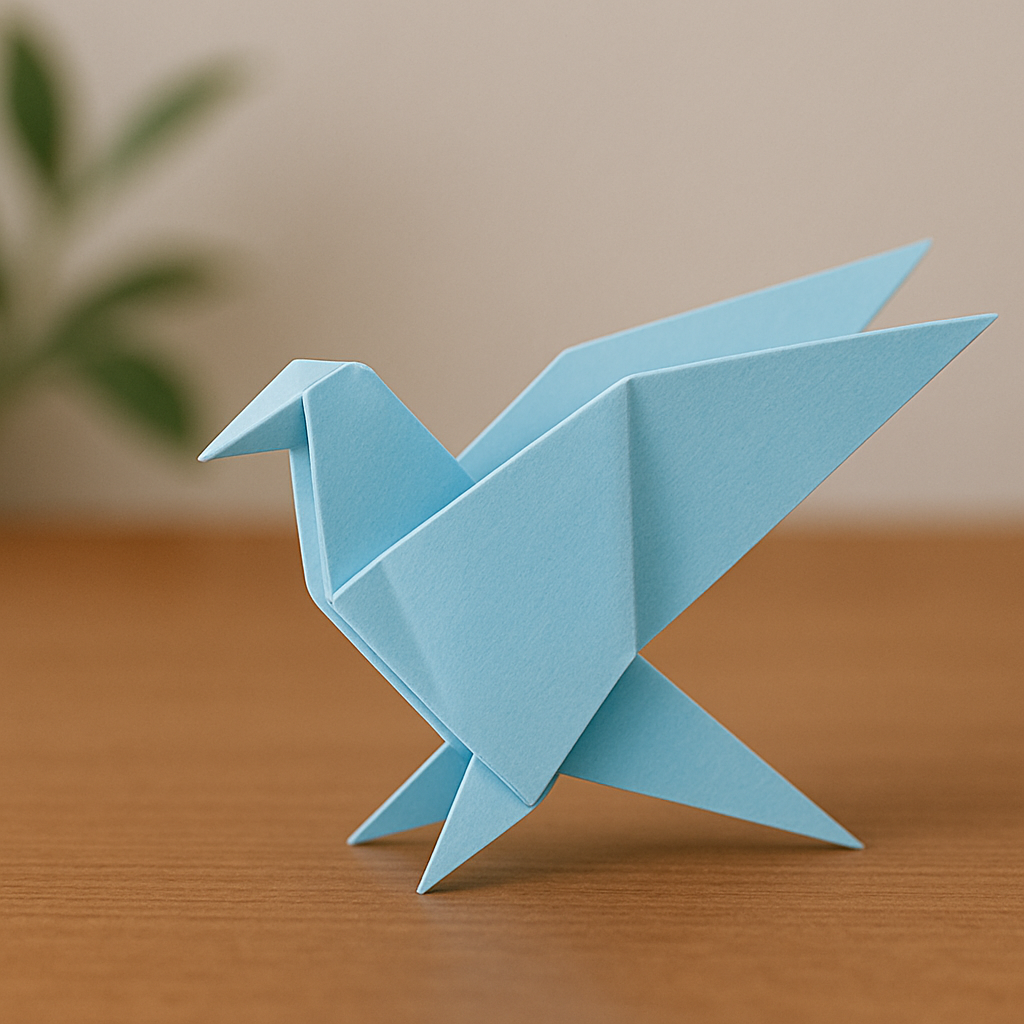
This classic **origami bird** is one of the most satisfying beginner models. It’s quick, elegant, and stands on its own!
There is a certain elegance in simplicity, and the traditional **origami bird** is a perfect example of this. While many people think of the complex crane, this simple standing bird is a fantastic starting point for any beginner. With just a handful of folds, you can create a beautiful, recognizable bird that can stand on its own, making it a perfect decoration for a desk or shelf.
This project is a fantastic way to practice one of origami’s most important techniques: the **”inside reverse fold.”** You’ll use this fold to create both the head and the tail. It’s a quick, rewarding model that builds essential skills and leaves you with a charming paper creature. Let’s get started!
What You’ll Need for Your Origami Bird
Materials List
- A square piece of paper: Any color works well. Standard 6×6 inches (15×15 cm) is a great size. Paper with color on one side and white on the other is helpful for following diagrams.
- A flat surface: To ensure your creases are sharp and precise.
Folding Your Simple Paper Bird in 5 Key Stages
Stage 1: Create a Triangle Base and Fold to Center
Start with your paper colored side down (white side up). Fold it in half diagonally, bringing a bottom corner up to meet the top corner. Crease it firmly to create a large triangle. Position this triangle with the long edge at the bottom. Now, fold the bottom-right corner up to meet the top point. Repeat with the bottom-left corner, folding it up to the top point. You should now have a diamond shape.

Stage 2: Fold in Half & Create Head/Tail Flaps
Turn the diamond shape over to the smooth, colored side. Fold the entire model in half, bringing the left point over to meet the right point. Crease this vertical fold firmly. You should now have a tall triangle with two “legs” or flaps at the bottom. These flaps will become the head and tail of your **origami bird**.

Stage 3: First Inside Reverse Fold (Tail)
This is the most important technique. Take one of the bottom “legs” (let’s say the right one) and fold it upwards at an angle to create the tail. Make a sharp pre-crease. Then, gently open the layers of that leg, and *push* the crease inwards, reversing it, so the tail is tucked *between* the body flaps. This is an **Inside Reverse Fold**. Flatten the model.

Stage 4: Second Inside Reverse Fold (Head)
Now, repeat the process with the other “leg” to form the neck. Fold it up at a slightly higher angle than the tail. Pre-crease it, then open the layers and push the fold inwards to create the neck. To form the head, perform one more, very small inside reverse fold right at the tip of the neck, folding it downwards to create a beak.

Stage 5: Shape the Wings and Stand
Your **simple paper bird** is almost finished! Take the top flap (the wing) on the side facing you and fold it downwards, aligning its edge with the bottom of the bird’s body. Flip the model over and repeat, folding the other wing down to match. Now, gently pull the bottom edges of the bird apart. This will create a flat base, allowing your bird to stand on its own!

Tips for a Perfect Paper Bird
Mastering the Inside Reverse Fold
The trickiest part for beginners is the “inside reverse fold” (Stages 3 and 4). The secret is to make a strong *pre-crease* first. Fold the flap outwards, crease it, and unfold it. *Then* gently open the layers and push the crease inwards. It will now follow the line you already made.
Choosing Your Paper
Standard, thin origami paper (Kami) is perfect for this model. Paper that is colored on one side and white on the other is very helpful, as you’ll see the color appear on the final bird’s body. Avoid thick cardstock, as it makes the small head fold very difficult.
Creative Project Ideas
This **simple paper bird** is great on its own, but even better in a flock!
- Baby Mobile: Fold several birds in different pastel colors and hang them with thread from a hoop to create a beautiful, handmade mobile.
- Dinner Party Place Cards: Fold a bird for each guest and write their name neatly on the wing. It’s an elegant touch for a dinner table.
- Themed Diorama: Create a small scene in a shoebox. Make a green Origami Christmas Tree and place a few paper birds in its “branches.”
Once you master this model, you’ll be ready to try other bird designs. For more inspiration, check out the amazing variety of bird diagrams available at Origami.me.
And there you have it! A simple, elegant **origami bird** that stands on its own. This model is a wonderful foundation for many other origami projects. Try making a few in different colors to create a small flock for your desk or windowsill. Happy folding!