Decorate Your Desk: Foldable Phone Stand
Clear up desk clutter with a handmade touch. This surprisingly sturdy **foldable phone stand** is as fun to make as it is useful.
Origami isn’t just for decoration; it can be incredibly practical, too! If you’re looking for a quick, creative, and genuinely useful project, this **origami phone stand** is a perfect choice. In just a few simple steps, you can transform a single sheet of paper into a reliable stand to hold your phone while you work, watch videos, or follow a recipe.
This model is a fantastic example of “functional origami.” It’s a great way to add a personal touch to your workspace, and it’s surprisingly strong thanks to its clever locking design. Unlike some simpler models, this one is engineered to hold the weight of a modern smartphone. This guide will walk you through the 6 simple stages to create a **foldable phone stand** that is both elegant and durable.
</s’p>
What You’ll Need for Your Foldable Phone Stand
Materials List
- A square piece of paper: Sturdier paper is highly recommended. Standard printer paper cut into a square, construction paper, or cardstock works much better than thin origami paper. 8×8 inches (20×20 cm) is an ideal size.
- A flat surface: For making strong, crisp creases. The stand’s strength comes from sharp folds.
Folding Your Origami Phone Stand in 6 Key Stages
Stage 1: Fold in Half and Unfold
Start with your square paper on a flat surface, colored side up. Fold it in half horizontally, bringing the bottom edge up to meet the top edge. Make a very sharp crease. Once you have a strong crease, unfold the paper completely. This center line will act as a crucial guide for the next steps.

Stage 2: Fold Edges to the Center
Now, take the top edge of the paper and fold it down to meet the center crease line you just made. Press the fold down firmly. Repeat this with the bottom edge, folding it up to meet the center line as well. Your paper should now be a shorter, wider rectangle, resembling a cabinet with two doors.

Stage 3: Fold in Half Again
Take the entire model and fold it in half along the center line, bringing the bottom folded edge up to meet the top folded edge. You will now have a long, thin, and multi-layered strip of paper. Make sure this final fold is extremely crisp, as it forms the main body of the stand.

Stage 4: Create the Base Folds
Position the strip horizontally. Take the left end and fold it upwards at a right angle (90 degrees). The vertical part of this fold should be about one-third of the total length. Now, take the right end and fold it downwards at a right angle, creating a mirrored shape. The result should look something like a squared-off ‘Z’ shape.

Stage 5: Lock the Stand
This is the clever part that makes the stand sturdy. Look at the ends of your Z-shape. You will see that each end has small pockets from the earlier folds. Gently open the main body of the stand and tuck one end into the pocket of the other end. Slide them together until they fit snugly and lock into place, forming a stable triangular base.

Stage 6: Adjust and Use Your Phone Stand!
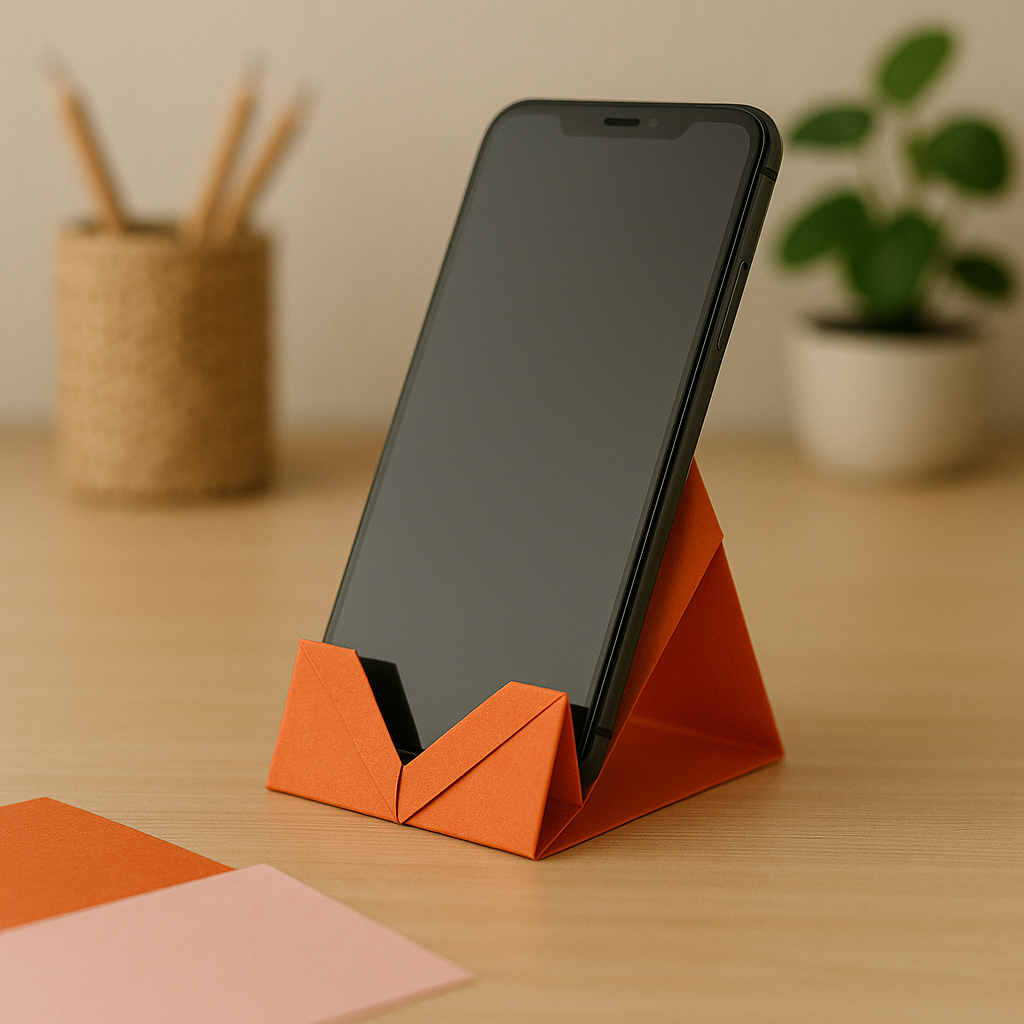
Your **foldable phone stand** is now complete! Stand it up on its flat base. You will see a small ledge created by the folds at the front. This ledge is where you will rest your phone. Adjust the angle slightly if needed to ensure it’s stable. Place your phone on the stand and enjoy your new handmade desk accessory!

Tips for a Sturdy Foldable Phone Stand
Paper is Everything
The single most important factor for this model is paper thickness. Thin origami paper (Kami) will be too flimsy and will likely collapse. Use sturdy paper like cardstock, construction paper, or thick scrapbook paper for a reliable stand.
Crisp Creases are Crucial
The stand’s strength comes from the tension in its triangular lock. Ensure every fold, especially in Stages 2 and 3, is as sharp as possible. Go over them with your fingernail or a bone folder. This will make the final locked stand much more stable and secure.
Creative Project Ideas
Beyond its main use, this **origami phone stand** can be adapted for other desk-organizing needs:
- Business Card Holder: Fold a smaller version from a 4×4 inch square to elegantly display your business cards on your desk.
- Recipe Card Stand: Use a colorful, patterned paper and place it in your kitchen to hold recipe cards while you cook.
- Complete Your Desk Set: Combine your new phone stand with a matching Origami Box (perfect for paperclips) to create a fully coordinated, handmade desk set.
For more functional office ideas, many origami databases, like Origami.guide, have entire sections dedicated to practical folds that can help organize your workspace.
Congratulations on creating a stylish and functional piece of office origami! This **foldable phone stand** is proof that with just a few clever folds, a simple piece of paper can become something incredibly useful. Experiment with different paper types and colors to match your desk’s aesthetic. Happy folding!