Mastering the Origami Phoenix: Advanced Paper Folding Guide
Learn how to fold a majestic origami phoenix using advanced techniques. Follow this detailed step-by-step guide to create wings, tail, and elegant curves worthy of this mythical bird.
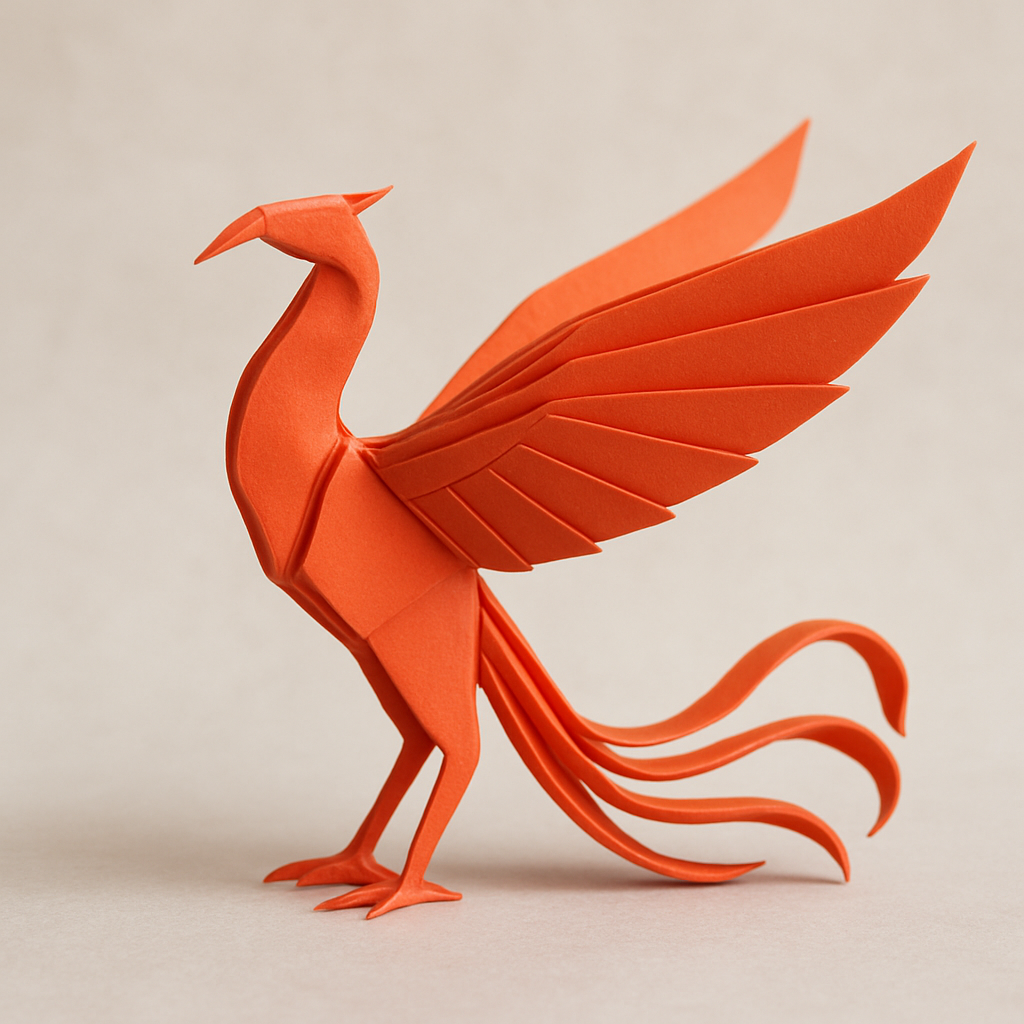
The origami phoenix represents rebirth and perfection—an advanced design that challenges precision and patience. With sharp angles, elegant wings, and a flowing tail, this model is perfect for artistic origami enthusiasts. Choose thin yet strong paper like tissue-foil or double tissue; it will hold curves without tearing. Let’s create your own phoenix masterpiece.
Prepare the Base and Pre-Folds
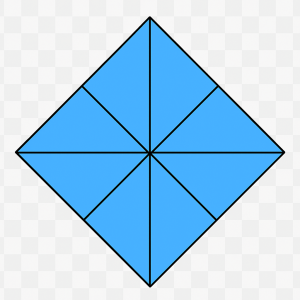
Start with a square sheet, preferably 25×25 cm. Fold diagonal and horizontal lines, then form a bird base by folding both diagonals into a preliminary square. These early folds are crucial; they define symmetry. Keep creases sharp but clean—accuracy now saves time later when shaping the wings and tail.
Form the Body and Neck
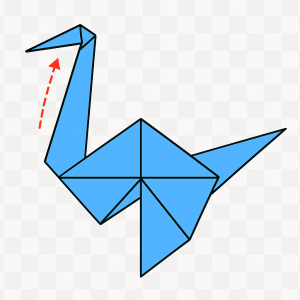
From the bird base, fold one flap upward to form the long neck. Compress the opposite flap downward to shape the tail foundation. Reverse-fold the neck tip to define the head’s angle. A slender, smooth curve gives grace—avoid abrupt bends. Keep both sides balanced; this will affect how evenly the wings extend.
Shape the Wings
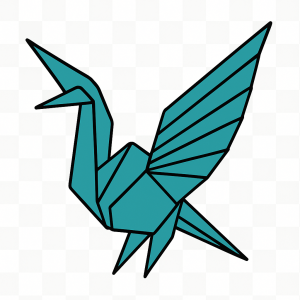
Open the side flaps and fold them upward diagonally. Use pleats to layer the feathers—three to four pleats per side for dynamic flow. The key is symmetry and tapering toward the tips. Adjust the wing spread so the bird looks mid-flight, not flat. Press folds gently to maintain dimension and airiness.
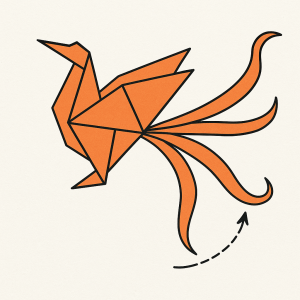
Extend the Tail Feathers
Open the bottom flap and elongate it with reverse folds to form a multi-feathered tail. Add curves by slightly rolling each strip outward using a skewer or your fingertips. The tail should fan out like a flame—symbolic of the phoenix’s rebirth. Each tail feather can be slightly different in angle for realism.
Sculpt and Refine Details
Wet-shape gently if using tissue-foil: lightly dampen the model and curve the wings and neck. Add small crimps to suggest muscle structure near the shoulders. Press under a soft cloth while drying to retain shape. When complete, your phoenix should appear alive—ready to rise again from its paper ashes.

Display your origami phoenix near light; shadows will emphasize its layered wings and regal form. This model captures the balance between strength and elegance—true mastery of advanced origami art.